[root~]# yum -y install git
下载nginx-rtmp-module,官方github地址
// 通过git clone 的办法下载到做事器上[root~]# git clone https://github.com/arut/nginx-rtmp-module.git
yum 安装 openssl

[root~]# yum -y install openssl openssl-devel2 安装Nginx做事器,官方网址
下载Nginx解压,并添加rtmp和openssl支持
如果须要nginx监控模块 下面倒数第二行后面添加
--with-http_stub_status_module
--with-http_stub_status_module
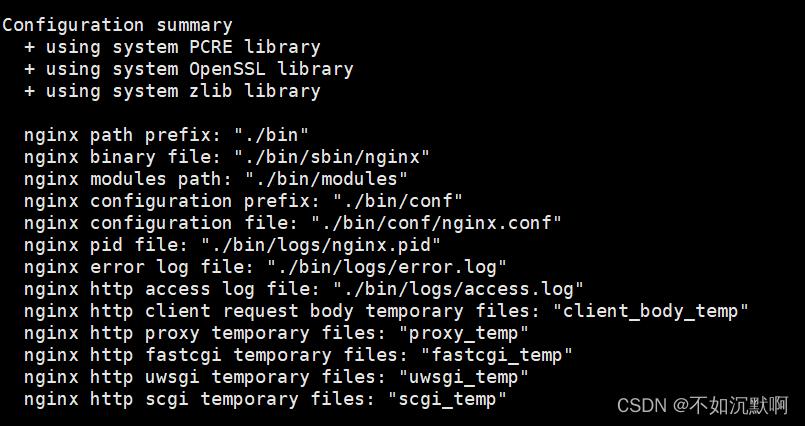
//这里我安装的是 nginx-1.10.3 版本[root~]# wget http://nginx.org/download/nginx-1.10.3.tar.gz [root~]# tar -zxvf nginx-1.10.3.tar.gz [root~]# cd nginx-1.10.3//添加rtmp和openssl支持[root~]# ./configure --add-module=/更换为自己的安装路径(path/to)/nginx-rtmp-module --with-http_ssl_module[root~]# make && make install
如果已经安装过Nginx,只须要找到Nginx源码目录添加rtmp的支持即可
1.查看当前安装的Nginx版本[root~]# /usr/local/nginx/sbin/nginx -v查询结果:nginx version: nginx/1.10.32.再利用find命令查找其位置[root~]# find / -name nginx-1.10.3查询结果:/root/nginx-1.10.33.cd到查询到的源目录[root~]# cd /root/nginx-1.10.34.添加rtmp的支持(如果看到一个绿色的 configure 文件就解释查找对了)[root~]# ./configure --add-module=/更换为自己的安装路径(path/to)/nginx-rtmp-module[root~]# make && make install5.启动nignx[root~]# /usr/local/nginx/sbin/nginx 3 修正Nginx配置文件nginx.conf
利用vi命令打开 nginx.conf,输入 i 进入编辑状态
[root~]# vi /usr/local/nginx/conf/nginx.conf
# 在http节点同级加上rtmp配置:rtmp { server { listen 1935; chunk_size 2048; drop_idle_publisher 10s; #指定的韶光内丢弃空闲的publisher application rtmplive { live on; record off; notify_method get; # 跳转的时候,默认以POST办法传输参数,修正成GET办法(权限验证url参数办法用) on_publish http://127.0.0.1/on_publish; # 推流权限验证地址(可选)
#转推流 push rtmp://;
}
# HLS 配置(可选,可以和上面的applicantion配置在一起) application hls { live on; hls on; hls_path /tmp/hls; #须要手动创建路径 hls_continuous on; #切片编号从上一次结束开始 } }}#http配置 大略权限验证 HLS配置http { server { listen 8080; # 推流权限验证 location /on_publish { default_type text/html; if ( $args ~ pass=1234 ) { # 如果url参数包括 pass=1234 return 200; } return 404; } # This URL provides RTMP statistics in XML location /stat { rtmp_stat all; # Use this stylesheet to view XML as web page # in browser rtmp_stat_stylesheet stat.xsl; } location /stat.xsl { # XML stylesheet to view RTMP stats. # Copy stat.xsl wherever you want # and put the full directory path here root /path/to/stat.xsl/; } # HLS(可选) location /hls { # Serve HLS fragments types { application/vnd.apple.mpegurl m3u8; video/mp2t ts; } root /tmp; #root path add_header Cache-Control no-cache; } }}
nginx状态监控页面(需前面安装http_stub_status_module)
# nginx状态监控页面 location /status { # Turn on nginx stats stub_status on; # I do not need logs for stats access_log off; # Security: Only allow access from 192.168.1.100 IP # #allow 192.168.1.100; # Send rest of the world to /dev/null # #deny all }
重启nginx
[root~]# nginx -s reload #方法一
[root~]# systemctl restart nginx.service #方法二
开机启动
# vi /lib/systemd/system/nginx.service
[Unit]Description=nginx After=network.target [Service] Type=forking ExecStart=/usr/local/nginx/sbin/nginxExecReload=/usr/local/nginx/sbin/nginx reloadExecStop=/usr/local/nginx/sbin/nginx quitPrivateTmp=true [Install] WantedBy=multi-user.target
# systemctl enable nginx.service
systemctl start nginx.service 启动nginxsystemctl stop nginx.service 结束nginxsystemctl restart nginx.service 重启nginx
本文福利, 免费领取C++音视频学习资料包+学习路线大纲、技能视频/代码,内容包括(音视频开拓,口试题,FFmpeg ,webRTC ,rtmp ,hls ,rtsp ,ffplay ,编解码,推拉流,srs),有须要的可以进企鹅裙927239107领取哦~
4 推流利用obs推流
url填写 rtmp://[做事器ip]:[端口]/[nginx配置中rtmp的application名称],如 rtmp://10.129.0.100:1935/hls
如配置HLS,需填写串流码,名称随意,如 demo,这个名称在HLS办法拉流时会用到(笔者测试中创造,个别电脑推流填写串流码名称后,利用vlc不能直接播放rtmp,去掉串流码名称后可正常播放)
如配置url验证,在url后面添加验证参数,如 rtmp://10.129.0.100:1935/hls?pass=1234,“?pass=1234”可以放在串码流中
5 拉流
利用vlc拉流
填写网络URL 如 http://10.129.0.100:8080/hls/demo.m3u8
把稳m3u8的文件名与推流时填的串流码同等
或者填写rtmp链接,如 rtmp://10.129.0.100:1935/hls
附:
nginx默认路径:/usr/local/nginx/html